Perspective Project Setup
Tamaki MES ships its UI as a separate Perspective project, not embedded in the .modl. This page explains why, how to import it, and how to use it as the parent of your own Perspective project so that future Tamaki MES updates do not overwrite your customizations.
Why a separate Perspective project?
The .modl ships the gateway logic: services, Script API, database migrations, tag provider. The Perspective project ships the UI on top of those services: views, styles, headers, sidebar, configuration screens.
Keeping the UI in its own inheritable project means:
- You can update Tamaki MES (both
.modland project) without overwriting any of your own views. - You inherit improvements to the Tamaki UI automatically by re-importing the new project.
- Your child project stays small and only contains what is genuinely custom to your site.
1. Import the Perspective project
In the Ignition Designer, connected to the gateway where you installed the module:
- Open File → Import Project….
- Choose the
TamakiMES_<version>.zipfile you downloaded from tamakisoftware.com/downloads. - Leave Project Name as
TamakiMES(the default the import uses). - Make sure Inheritable is selected.
- Click Import.

Once the import finishes, a TamakiMES project appears in the gateway's project list.
You should not edit the views, styles, or scripts in the TamakiMES project directly. Any local change will be lost the next time you re-import the project on an upgrade. All of your work goes in your child project.
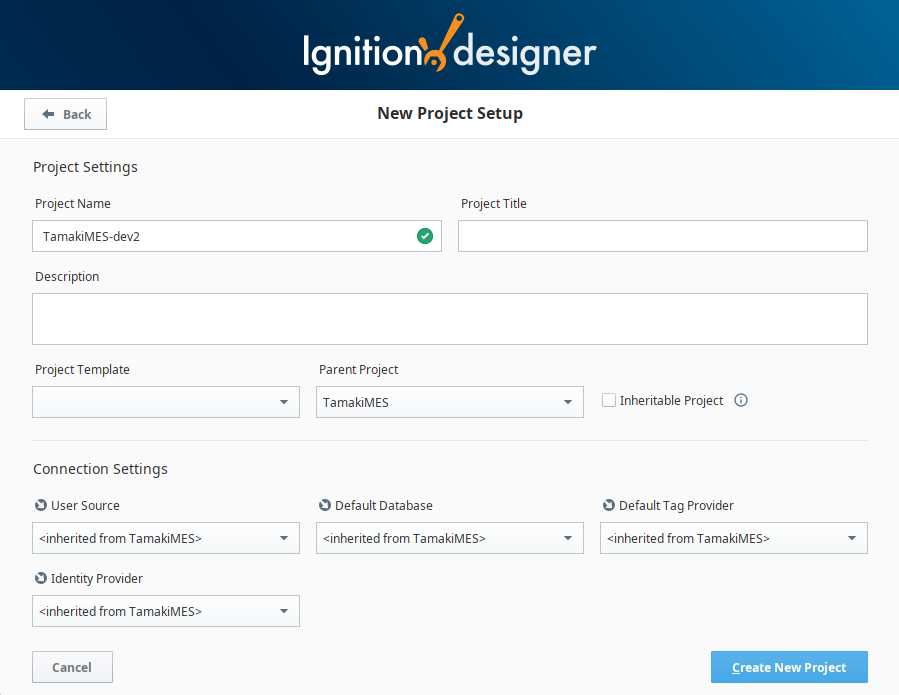
2. Create your child project
Your customer-specific or site-specific project should inherit from TamakiMES:
- In Designer, File → New Project.
- Name the project to suit your site (for example
Acme-Productionor whatever your team's naming convention is). - Set Parent Project to
TamakiMES. - Open the new project.
Your child project now has access to every view, style, and resource that TamakiMES ships. You can:
- Override views by creating a view with the same path in your child project.
- Add new views, components, and styles for site-specific screens.
- Wire the inherited Tamaki MES screens into your own navigation, or leave them as a standalone entry point: both patterns are common.
- Make use of inherited configured CSS Sytle classes CSS Styles
- Find the inherited Script API and use it to extend the gateway's functionality.
4. Updating Tamaki MES later
When a new Tamaki MES version is released:
- Download the new
.modland the matching project.zipfrom the downloads page. - Install the new
.modlover the old one (see Installation). - In Designer, File → Import Project… and re-import the new
.zipover the existingTamakiMESproject (choose to overwrite when prompted).
Your child project keeps every customization because everything you added or overrode lives in your project, not in TamakiMES.
Next steps
- Browse the Product Modules page to see what each licensed module gives you in the Perspective project.
- Review the best practices for tag providers, PLC access, and database setup before you scale up.